Skeleton Tracking
Detailed instructions for creating and using Skeleton assets in Motive.
Was this helpful?
Detailed instructions for creating and using Skeleton assets in Motive.
Was this helpful?
In Motive, Skeleton assets are used for tracking human motions. These assets auto-label specific sets of markers attached to human subjects, or actors, and create skeletal models.
Unlike Rigid Body assets, Skeleton assets require additional calculations to correctly identify and label 3D reconstructed markers on multiple semi-Rigid Body segments. To accomplish this, Motive uses pre-defined Skeleton Marker Set templates that define a collection of marker labels and their specific positions on a subject.
Notes:
Motive license: Skeleton features are supported only in Motive:Body or Motive:Body - Unlimited.
Skeleton Count: The standard Motive:Body license supports up to 3 Skeletons. To track more Skeletons, a Motive:Body - Unlimited license is required.
Height range: Skeleton actors must be between 1'7" and 9' 10" tall.
Use the default create layout to open related panels that are necessary for Skeleton creation. (CTRL + 2).
When it comes to tracking human movements, proper marker placement is especially important. In Motive's pre-programmed Skeleton Marker Sets, each marker indicates an anatomical landmark, such as left elbow out, right hip, etc., when modeling the Skeleton. If markers are misplaced, the Skeleton asset may not be created, or bad marker placements may result in labeling problems, creating extra work in post-processing of the data.
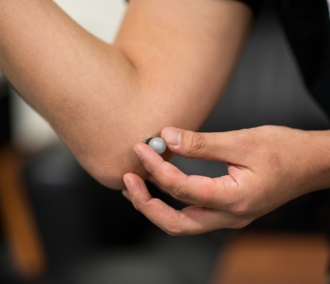
Attaching markers directly to a person’s skin can be difficult due to hair, oil, and moisture from sweat. For this reason, we recommend mocap suits that allow Velcro marker bases. In instances where markers must be attached directly, make sure to use appropriate skin adhesives to secure the marker bases as dynamic human motions tend to move the markers during capture.
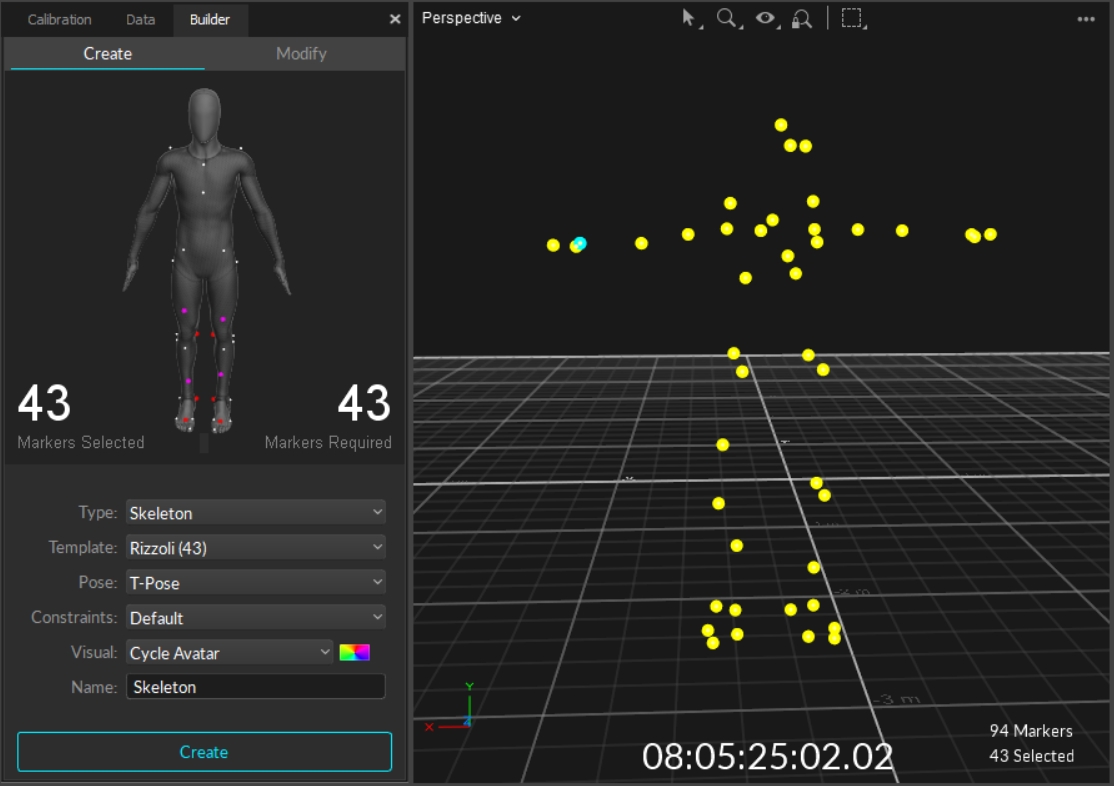
Open the Create tab on the Builder pane.
From the Type drop-down list, select Skeleton.
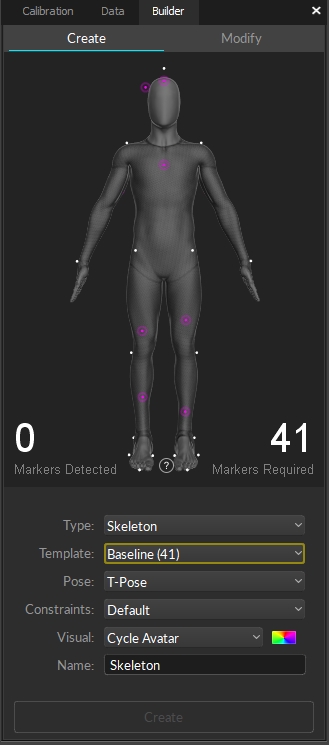
Select a Marker Set to use from the drop-down menu. The number of required markers for each Skeleton is shown in parenthesis after the Marker Set name.
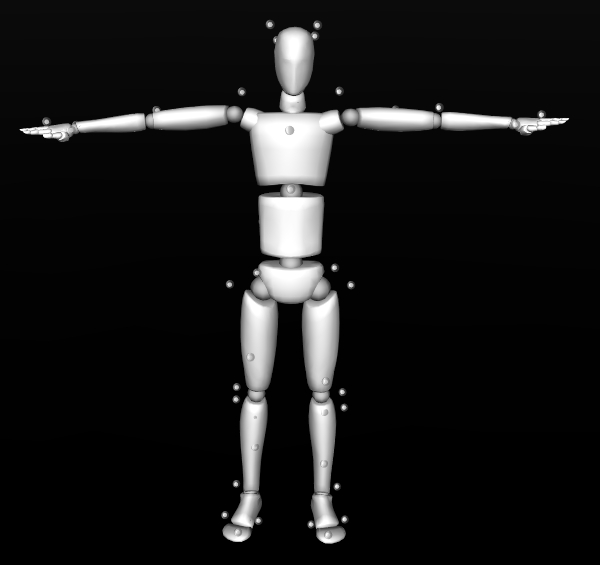
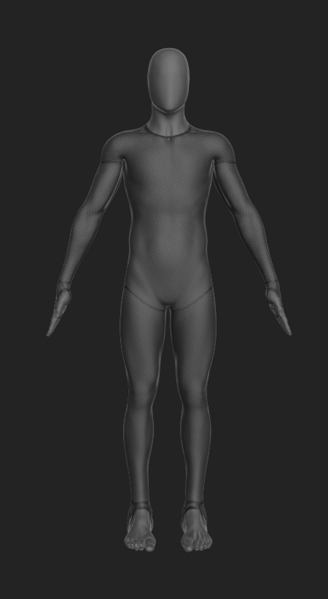
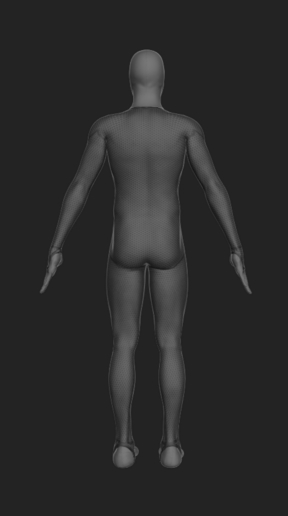
When a Marker Set is selected, the corresponding marker locations are displayed over an avatar in the Builder pane. Right-drag to rotate the avatar to see the location of all the markers.
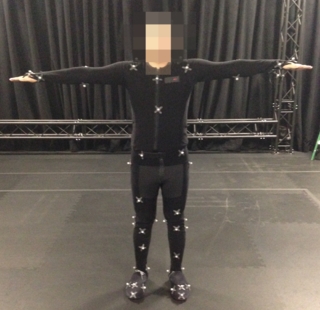
Have the subject strike a calibration pose (T-pose or A-pose) and carefully place retroreflective markers at the corresponding locations of the actor or the subject.
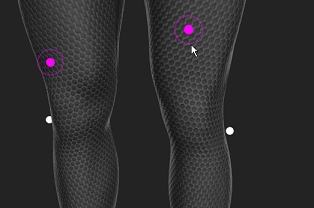
The positions of markers shown in white are fixed and must be in the same location for each skeleton created. These markers are critical in auto-labeling the skeleton.
The positions of markers shown in magenta are relative and should be placed in various positions in the general area to create skeletons that are unique to each actor.
All markers need to be placed at respective anatomical locations of a selected Skeleton as shown in the Builder pane. Skeleton markers can be divided into two categories: markers that are placed along joint axes (joint markers) and markers that are placed on body segments (segment markers).
Joint markers need to be placed carefully along corresponding joint axes. Proper placements will minimize marker movements during a range of motions and will give better tracking results. To accomplish this, ask the subject to flex and extend the joint (e.g., knee) a few times and palpate the joint to locate the corresponding axis. Once the axis is located, attach the markers along the axis where skin movement is minimal during a range of motion.
Proper placement of Joint Markers improves auto-labeling and reduces post-production processing time.
Segment markers are placed on Skeleton body segments, but not around a joint. For best tracking results, place segment markers asymmetrically within each segment. This helps the Skeleton solve to thoroughly distinguish left from right for the corresponding Skeleton segments throughout the capture. This asymmetrical placement is also emphasized in the avatars shown in the Builder pane.
If attaching markers directly to skin, wipe off any moisture or oil before attaching the marker.
Avoid wearing clothing or shoes with reflective materials that can introduce extraneous reflections.
Tie up hair, which can occlude markers around the neck.
Remove reflective jewelry.
Place markers in an asymmetrical arrangement by offsetting the related segment markers (markers that are not on joints) at slightly different height.
In the Builder pane, the number of Markers Needed and Markers Detected must match. If the Skeleton markers are not automatically detected, manually select the Skeleton markers from the 3D perspective view.
Find detailed descriptions of each template in the section Skeleton Marker Sets.
Biomechanics Marker Sets require precise placement of markers at the respective anatomical landmarks. The markers directly relate to the coordinate system definition of each respective segment, affecting the resulting biomechanical analysis.
The markers need to be placed on the skin for direct representation of the subject’s movement. Use appropriate adhesives to place markers and make sure they are securely attached.
Place markers where you can palpate the bone or where there is less soft tissue in between. These spots have fewer skin movements and provide more secure marker attachment.
While the basic marker placement must follow the avatar in the Builder pane, additional details on the accurate placements can be found on the Biomechanics Marker Sets page.
Joint markers are vulnerable to skin movements because of the range of motion in the flexion and extension cycle. To minimize the influence, a thorough understanding of the biomechanical model used is necessary in the post-processing.
In certain circumstances, the joint line may not be the most appropriate location. Instead, placing the markers slightly superior to the joint line could minimize the soft tissue artifact, still taking care to maintain parallelism with the anatomical joint line.
Calibration markers exists only in the biomechanics Marker Sets.
Many Skeleton Marker Sets do not have medial markers because they can easily collide with other body parts or interfere with the range of motion, all of which increase the chance of marker occlusions.
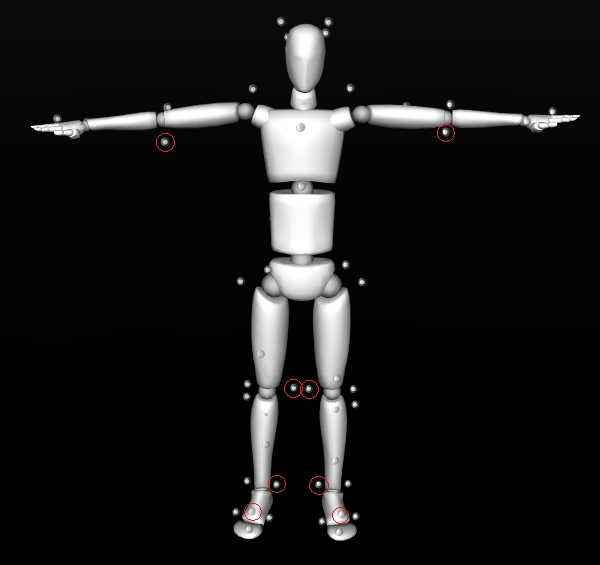
However, medial markers are beneficial for precisely locating joint axes by associating two markers on the medial and lateral side of a joint. For this reason, some biomechanics Marker Sets use medial markers as calibration markers. Calibration markers are used only when creating Skeletons but removed afterward for the actual capture. These calibration markers are highlighted in red from the 3D view when a Skeleton is first created.
After creating a Skeleton from the Builder pane, calibration markers need to be removed. First, detach the calibration markers from the subject. Then, in Motive, right-click on the Skeleton in the perspective view to access the context menu and click Skeleton → Remove Calibration Markers. Check the assigned marker positions to make sure that the Skeleton no longer expects markers in the corresponding medial positions.
A proper calibration posture is necessary because the pose of the created Skeleton will be calibrated from it.
The avatar in the Builder pane does not change to reflect the selected pose.
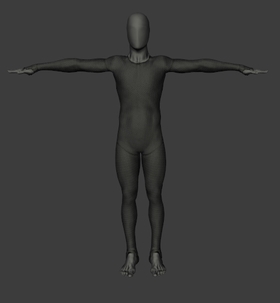
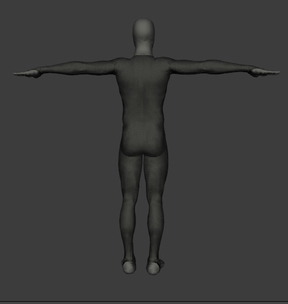
The T-pose is commonly used as the reference pose in 3D animation to bind two characters or assets together. Motive uses this pose when creating Skeletons. A proper T-pose requires straight posture with back straight and head facing directly forward. Both arms are parallel to the ground, forming a “T” shape, with the palms facing downward. Both arms and legs must be straight, and both feet need to be aligned parallel to each other.
The A-pose is especially beneficial for subjects who have restricted mobility in one or both arms. Unlike the T-pose, arms are abducted at approximately 40 degrees from the midline of the body, creating an A-shape. There are three different types of A-pose: Palms down, palms forward, and elbows bent.
Palms Down: Arms straight. Abducted, sideways, arms approximately 40 degrees, palms facing downwards.
Palms forward: Arms straight. Abducted, sideways, arms approximately 40 degrees, palms facing forward. Be careful not to over rotate the arm.
Elbows Bent: Similar to all other A-poses. arms approximately 40 degrees, bend elbows so that forearms point towards the front. Palms facing downwards, both forearms aligned.
Once the skeleton markers are correctly placed for the selected template, it's time to finish creating the skeleton.
Select the calibration Pose you plan to use to define the Skeleton from the drop-down menu. This is set to the T-pose by default.
The Constraints drop-down allows you to assign labels that are defined by the Marker Set template (Default) or to assign custom labels by loading a previously prepared XML file of constraint names.
Select the Visual template to apply to the skeleton. Options are: Segment; Avatar - male; Avatar - female; None; or Cycle Avatar, which cycles between the male and female avatars. This value can be changed later in the Skeleton Properties.
Enter a unique name for the skeleton. The skeleton name is included as a prefix in the label for each of the skeleton markers.
Ask the subject to stand in the selected calibration pose, feet shoulder-width apart. The T-pose should be done with palms downward.
Click Create. Once the Skeleton model has been defined, confirm all Skeleton segments and assigned markers are located at the expected locations. If any of the Skeleton segments seem to be misaligned, delete and create the Skeleton again after adjusting the marker placements and the calibration pose.
In Edit Mode
If you are creating a Skeleton in the post-processing of captured data, you will have to auto-label the Take to see the Skeleton modeled and tracked in Motive.
Reset Skeleton Tracking
When Skeleton tracking is not acquired successfully during the capture for some reason, you can use the CTRL + R hotkey to trigger the solver to re-boot the Skeleton asset.
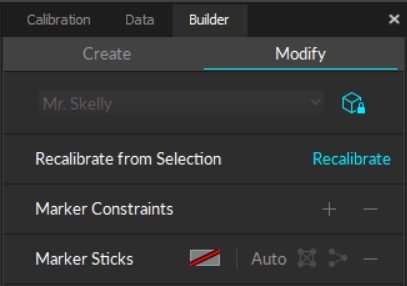
Several changes can be made to Skeleton assets from the Modify tab of the Builder pane, or through the context menus available in the 3D Viewport or the Assets Pane.
Post-Processing: Working with Recording Takes
Edit Mode is used for playback of captured Take files. In this mode, you can playback and stream recorded data and complete post-processing tasks. The Cameras View displays the recorded 2D data while the 3D Viewport represents either recorded or real-time processed data as described below.
There are two modes for editing:
Edit: Playback in standard Edit mode displays and streams the processed 3D data saved in the recorded Take. Changes made to settings and assets are not reflected in the Viewport until the Take is reprocessed.
Edit 2D: Playback in Edit 2D mode performs a live reconstruction of the 3D data, immediately reflecting changes made to settings or assets. These changes are displayed in real-time but are not saved into the recording until the Take is reprocessed and saved. To playback in 2D mode, click the Edit button and select Edit 2D.
Regardless of the selected Edit mode, you must reprocess the Take to create new 3D data based on the modifications made.
Skeleton assets can be recalibrated using the existing Skeleton information. Recalibration recreates the selected Skeleton using the same Skeleton Marker Set and refreshes expected marker locations on the assets.
There are several ways to recalibrate a Skeleton:
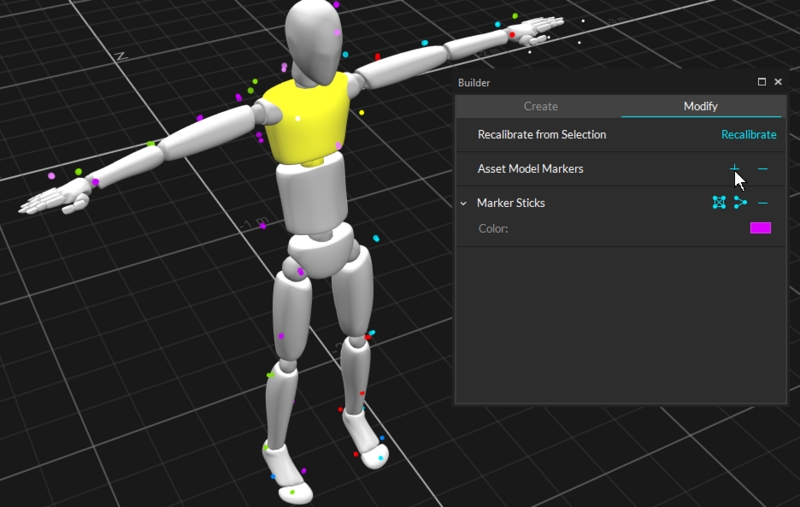
From the Modify tab of the Builder pane.
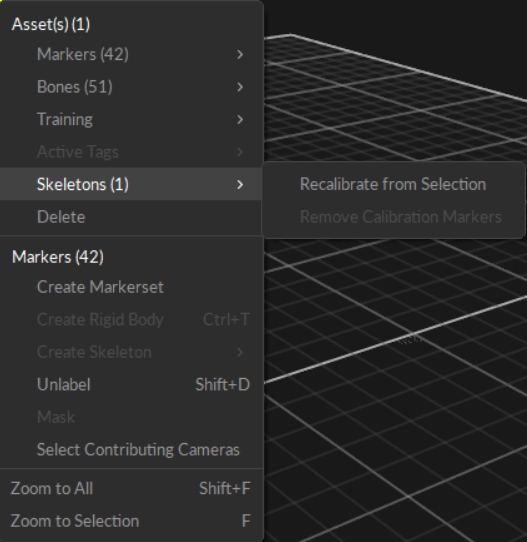
Select all of the associated Skeleton markers in the 3D Viewport, right-click and select Skeleton (1) --> Recalibrate from Selection.
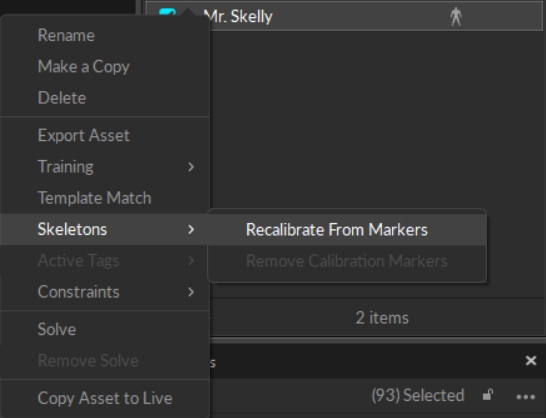
Right-click the skeleton in the Assets pane and select Skeleton (1) --> Recalibrate from Markers.
Skeleton recalibration does not work for Skeleton templates with added markers.
Constraints store information on marker labels, colors, and marker sticks which can be modified, exported and re-imported as needed. For more information on exporting and importing constraints, please refer to the Constraints XML Files page.
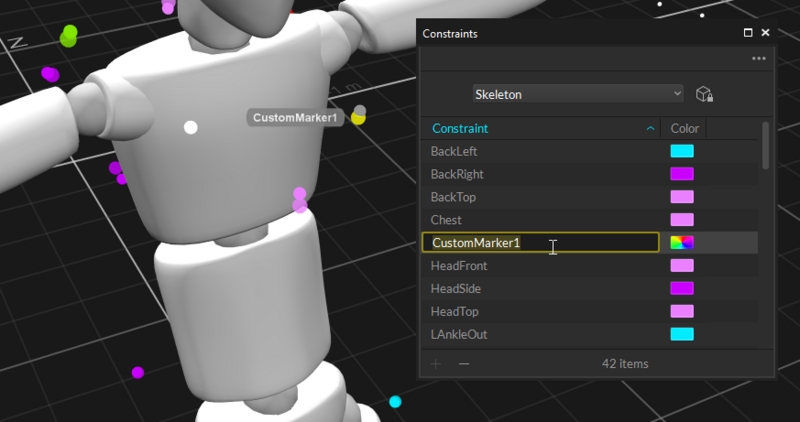
To modify marker colors and labels, use the Constraints pane.
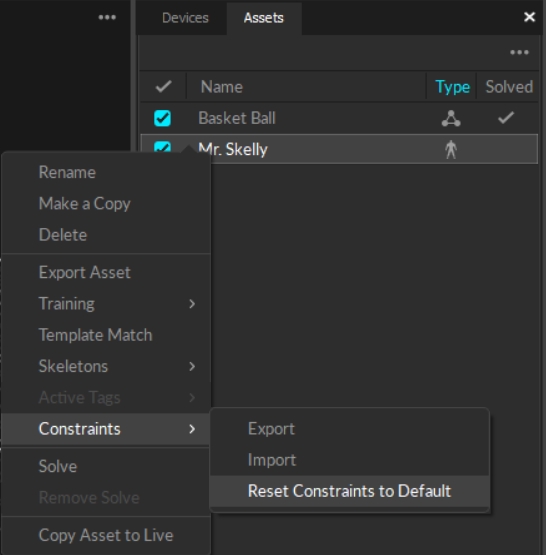
Right-click the skeleton in the asset pane and select Constraints --> Reset Constraints to Default to update the Skeleton markers with the default constraints template.
Skeleton Marker Sets can be modified slightly by adding or removing markers to or from the template. Follow the below steps for adding/removing markers.
Modifying, especially removing, Skeleton markers is not recommended since changes to default templates may negatively affect the Skeleton tracking if done incorrectly.
Removing too many markers may result in poor Skeleton reconstructions, while adding too many markers may lead to labeling swaps.
If any modification is necessary, try to keep the changes minimal.
When adding, or removing, markers in the Edit mode, the Take needs to be auto-labeled again to re-label the Skeleton markers.
Open the Modify tab on the Builder pane.
In the 3D Viewport, select the Skeleton segment that you are adding add the extra markers to.
CTRL + left-click on the marker that you wish to add to the skeleton.
You can also add Constraints from the Constraints pane.
Reconstruct and Auto-label the Take.
Extra markers added to Skeletons will be labeled as Skeleton_CustomMarker#. Use the Constraints pane to change the label as needed.
To Remove
Enable selection of Marker Constraints from the visual aids option in perspective view.
[Optional] Under the advanced properties of the target Skeleton, enable the Marker to Constraint Lines property to view which markers are associated with different Skeleton bones.
Open the Modify tab on the Builder pane.
Select the Skeleton segment to modify and the Marker Constraints you wish to dissociate.
From the Data pane, right click the Take and select Reconstruct and Auto-label.
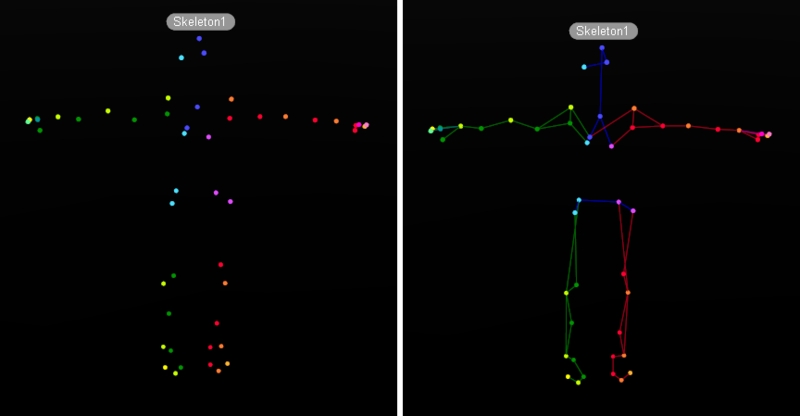
A Marker stick connects two markers to create a visible line. Marker sticks define the shape of an asset, showing which markers connect to each other, such as knee to hip, and which don't, such as hand to foot. Skeleton Marker Sets include the placement of marker sticks.
Changes the color of the selected Marker Stick(s).
Autogenerates Marker Sticks for the selected Trained Markerset asset. Does not apply to skeleton assets.
Connects all of the selected Markers to each other. Not recommended for skeleton assets.
Creates Marker Sticks based on the order in which the markers were selected.
Removes the selected Marker Stick(s).
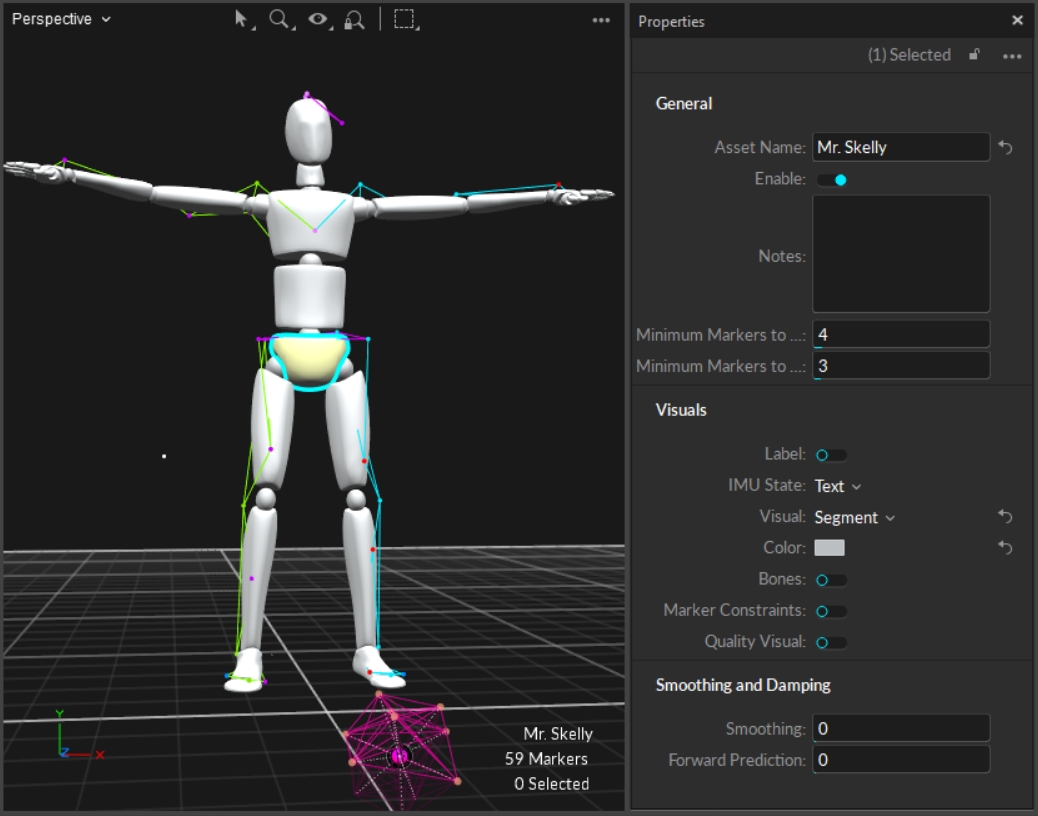
Properties of existing, or recorded, Skeleton assets are configured under the Properties pane while the respective Skeletons are selected.
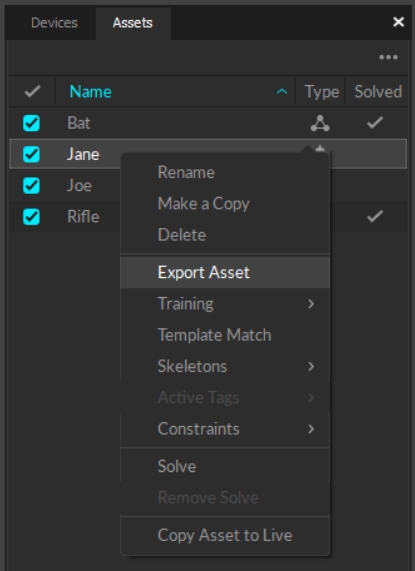
Assets can be exported into the Motive user profile (.MOTIVE file) if they need to be re-imported. The user profile is a text-readable file that contains various configuration settings in Motive, including the asset definitions.
When asset definitions are exported to a MOTIVE user profile, the profile stores the marker arrangements calibrated in each asset, which can be imported into different takes without creating a new asset in Motive.
The user profile stores the spatial relationship of each marker to the others in the asset. Only the identical marker arrangement will be recognized and defined with the imported asset.
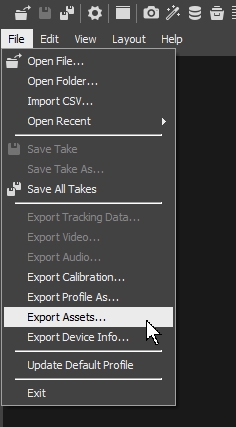
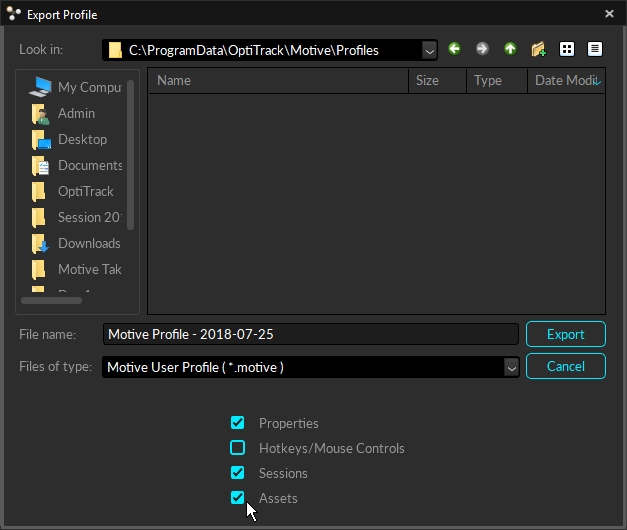
To export all of the assets in Live-mode or in the current TAKE file, go to File menu and selected Export Assets. You can also select the File menu → Export Profile option to export other software settings as well as the assets.
There are two ways of obtaining Skeleton joint angles. Rough representations of joint angles can be obtained directly from Motive, but the most accurate representations of joint angles can be obtained by pipelining the tracking data into a third-party biomechanics analysis and visualization software (e.g. Visual3D or The MotionMonitor).
For biomechanics applications, joint angles must be computed accurately using the respective Skeleton model solve, which can be accomplished by using biomechanical analysis software. Export C3D files or stream tracking data from Motive and import into an analysis software for further calculation. From the analysis, various biomechanics metrics, including the joint angles, can be obtained.
Joint angles generated and exported from Motive are intended for basic visualization purposes only and should not be used for any type of biomechanical or clinical analysis. A rough representation of joint angles can be obtained by either exporting or streaming the Skeleton Rigid Body tracking data. When exporting the tracking data into CSV, set the Use World Coordinates export setting to Local to obtain bone segment position and orientation values in respect to its parental segment, roughly representing the joint angles by comparing two hierarchical coordinate systems. When streaming the data, set Local Rigid Bodies to true in the streaming settings to get relative joint angles.
Each Skeleton asset has its marker templates stored in a Constraints XML file. A Skeleton Marker Set can be modified by exporting, customizing, and importing the Constraints XML files. Specifically, customizing the XML files will allow you to modify Skeleton marker labels, marker colors, and marker sticks within a Skeleton asset. For detailed instructions on modifying Skeleton XML files, read the Constraints XML Files page.
To export Skeleton constraints XML file
To export a Skeleton XML file, right-click on a Skeleton asset under the Assets pane and select Constraints --> Export Constraints to export corresponding Skeleton marker XML file.
To import Skeleton constraints XML file
When creating a new Skeleton, you can import a constraints XML file under the Labels section of the Builder pane. To import a constraints XML file to an existing Skeleton, right-click on a Skeleton asset under the Assets pane and select Constraints --> Import Constraints.
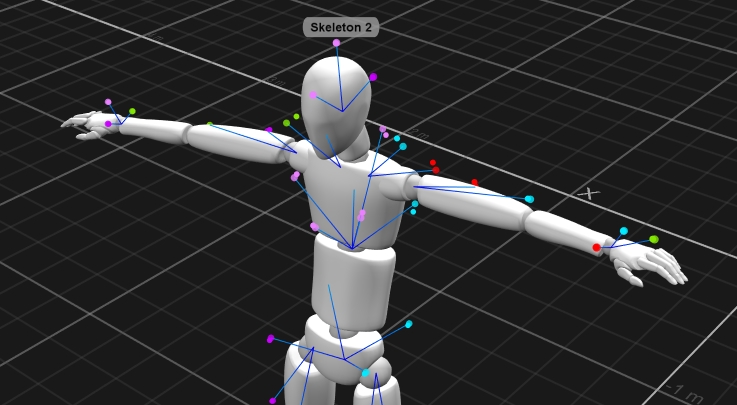
Skeleton marker colors and marker sticks can be viewed in the 3D Viewport. They provide color schemes for clearer identification of Skeleton segments and individual marker labels. To make them visible, enable Marker Sticks and Marker Colors under the visual aids in the perspective view pane.
On the Marker Constraints tool in the Builder pane, click to add and associate the selected marker to the selected segment.
Delete the association by clicking on the in the Constraints section.
Alternately, you can click to remove selected markers from the Constraints pane.
For newly created Skeletons, default Skeleton creation properties are configured under the Application Settings pane. Click the button and select Assets.
To configure Advanced properties, click the button in the top right corner of the pane.
