Autodesk MotionBuilder Plugin
Overview
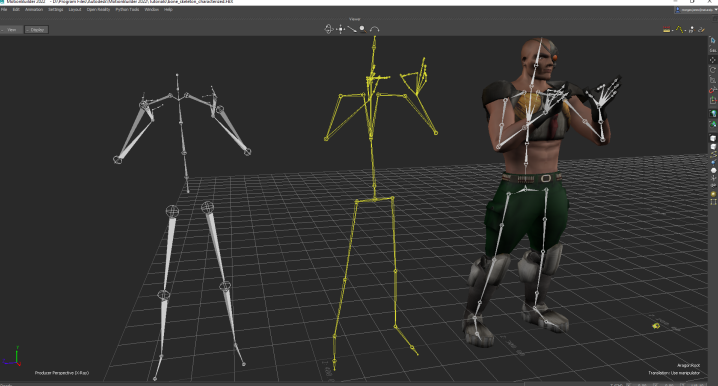
The OptiTrack MotionBuilder Plugin is a collection of MotionBuilder devices, scripts, and samples used for working with OptiTrack Motive data inside MotionBuilder. The device plugins allow users to stream Motive Live or from recorded .tak data into MotionBuilder.
This page is designed to help you get started with the general download and setup process, and organize the three MotionBuilder plugin pages for quick reference.
For basic instructions on setting up a motion capture system, please refer to the Getting Started guide.
Included Plugins:
OptiTrack - Skeleton
OptiTrack - Optical
OptiTrack - Insight VCS
Motive Data Streaming Setup (Server)
Follow the steps below to configure data streaming in Motive. When the NatNet streaming service is enabled, Motive broadcasts tracking data to a designated network interface where client applications can receive them.
Streaming Settings
To enable streaming in Motive, click the ![]() button to open the Applications Settings panel, then select the Streaming tab, or use the
button to open the Applications Settings panel, then select the Streaming tab, or use the ![]() button in the right corner of the Control Deck to open the Streaming tab directly.
button in the right corner of the Control Deck to open the Streaming tab directly.
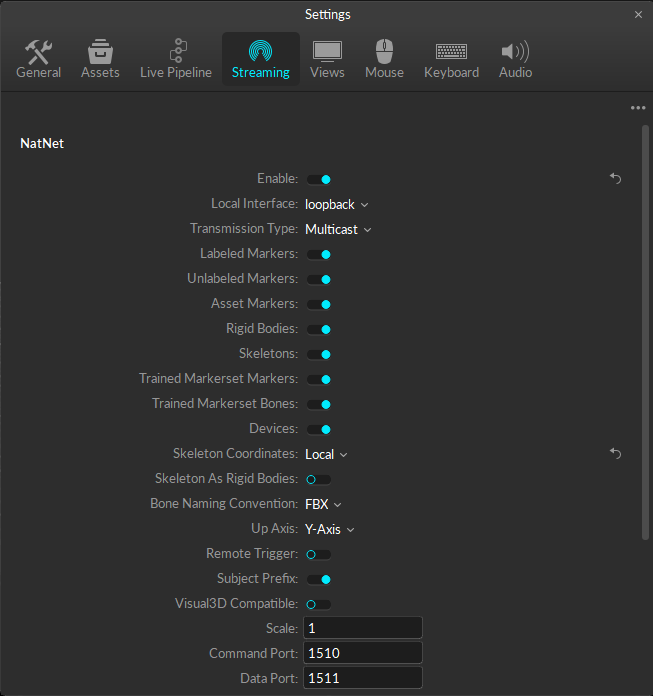
In the NatNet section, select Enable to begin streaming.
Select the Local Interface. Use Loopback if streaming to the same computer, otherwise select the IP address for the network where the client application resides.
Set the Bone Naming Convention to FBX if streaming skeletons.
Please see the Data Streaming page for more details on all settings available for streaming.
Additional Tips
For best results, run Motive and MotionBuilder on separate computers so they are not competing for processing resources.
When streaming the data over a Wi-Fi network, use Unicast transmission.
Streaming Recorded Data
To stream recorded data, load the Take in Motive.
Set the Playback mode to Endpoint.
Begin recording in MotionBuilder.
At the desired frame, start playback in Motive. This will stream the captured Take into MotionBuilder.
Stop and save the recording in MotionBuilder when the Take ends in Motive.
If playback mode is set to Loop in Motive, MotionBuilder will stop recording once the final frame is reached even though playback continues in Motive.
For additional information on data streaming in general, read through the Data Streaming page.
Plugins
OptiTrack - Skeleton
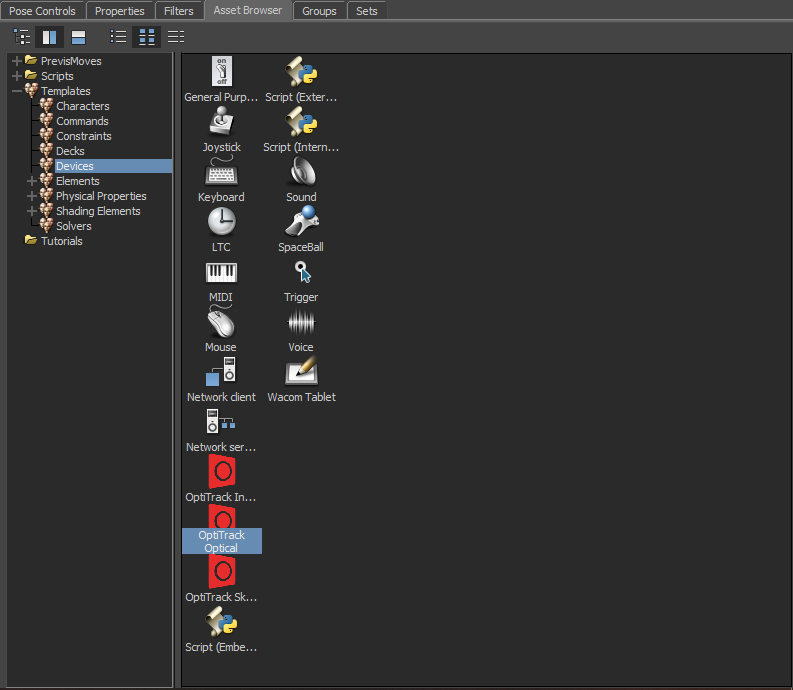
The OptiTrack Skeleton Device allows to you map Motive 6DOF Skeleton joint angle data directly onto a MotionBuilder character
OptiTrack - Optical
The OptiTrack Optical Plugin device allows to you to map motion capture (optical) data onto an animated character within MotionBuilder.
OptiTrack - Insight VCS
The Virtual Camera device is specifically designed for creating a Virtual Camera in MotionBuilder. You can use the Insight VCS device with standard OptiTrack applications such as Motive, or you can use the device in "Universal" mode, which works with generic MotionBuilder Optical or RigidBody objects, allowing you to use the Insight VCS device with alternative motion capture systems that support optical or rigid body devices in MotionBuilder.
Downloading the Plugins
After downloading the MotionBuilder plugin from the OptiTrack website, follow the steps below for a successful install.
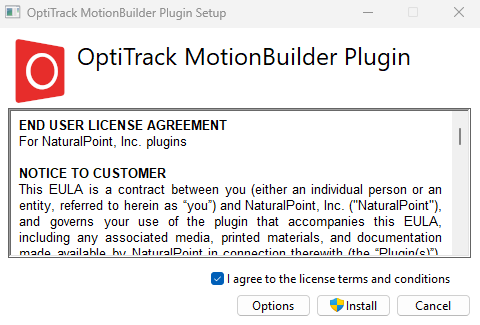
Double click the OptiTrack MotionBuilder Plugin .exe file to open the installer.
Read the End User License Agreement, then check the box "I agree to the license terms and conditions."
Click the Install button to begin the installation.
Wireless Multiplayer Setup
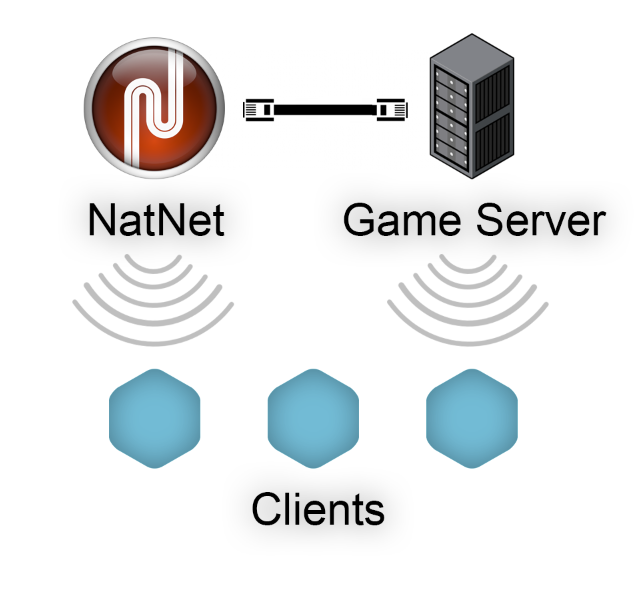
When setting up multiplayer games on wireless clients, it's best for each client to directly connect to both the tracking server (Motive) and the game server, rather than rebroadcasting the streamed tracking data through the game-server. This ensures that game-related actions that interact with the tracking data can be processed on the game server, which then sends out the corresponding updates to the wireless clients. This allows the wireless clients to receive both the tracking data or updates without having to send back any information, minimizing the number of data transfers needed. If wireless clients are sending data, it will require at least two transfers on the wireless network, with each wireless transfer increasing the risk of latency or lost packets.
Was this helpful?

