Switch Configuration for PrimeX 120
Configure a Netgear PoE++ switch to connect a PrimeX 120 camera.
Last updated
Configure a Netgear PoE++ switch to connect a PrimeX 120 camera.
Last updated
The Link Layer Discovery Protocol (IEEE 802.1AB) advertises the major capabilities and physical descriptions of components on an 802 Local Area Network. This protocol provides network components from different vendors the ability to communicate with each other.
LLDP also controls the Power over Ethernet (PoE) power allocation. In the case of the PrimeX 120 cameras, LLDP prevents the switch from providing sufficient power to the port where the camera is connected. For this reason, the LLDP protocol must be disabled on any port used to connect a PrimeX 120 to the camera network.
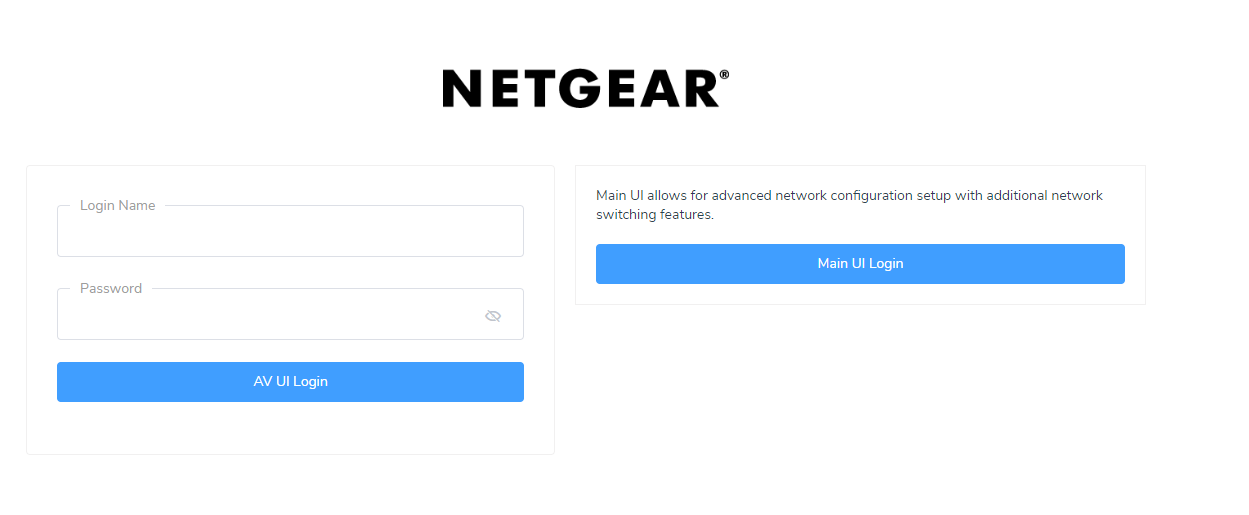
From the Motive PC, launch any web browser and type http://169.254.100.100 to open the Management Console for the switch.
This will open the login console.
Login using the Admin account.
If the switch has already been configured, the password is OptiPOE++. Otherwise, leave the password blank.
Click Main UI Login.
Set the values necessary to ensure the PrimeX 120 receives sufficient power once the LLDP settings are turned off.
On the System tab, select the PoE settings from the toolbar.
Click Advanced in the navigation bar, on the left.
Click PoE Port Configuration.
Select the port(s) to update.
Set the Max Power (W) value to 99.9.
Set the Power Limit Type to User.
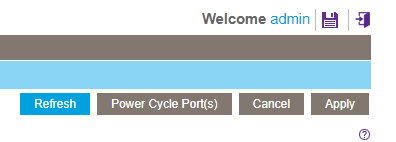
Click the Apply button in the upper right corner to commit the changes in the current session.
Changes that are Applied but not Saved will remain in effect until the Switch is restarted, when the previous settings are restored. Configuration changes that are Saved will remain in effect after a restart.
Update settings to prevent LLDP from interfering with traffic from the PrimeX 120.
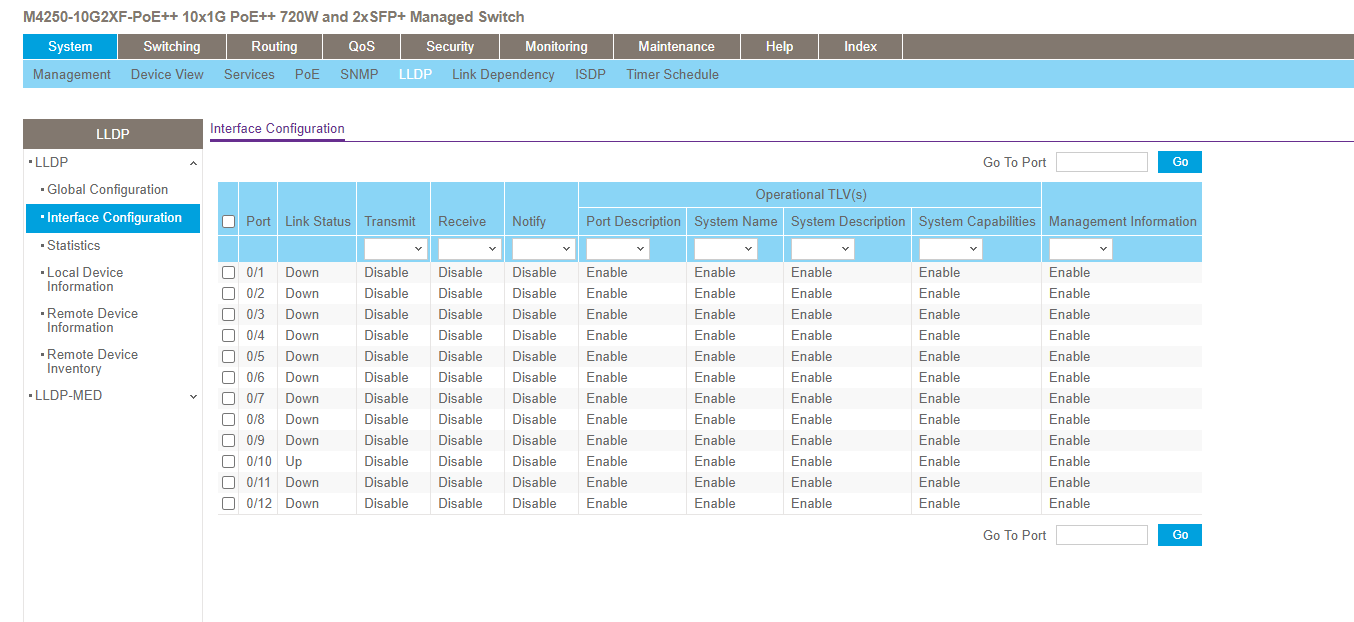
On the System tab, select the LLDP settings from the toolbar.
From the Navigation bar, select LLDP -> Interface Configuration.
Disable Transmit, Receive, and Notify for all required ports.
Click the Apply button in the upper right corner to commit the changes in the current session.
Storm control security features may throttle traffic from the PrimeX 120 cameras, affecting system performance.
On the Security tab, select the Traffic Control settings from the toolbar.
From the Navigation bar, select Storm Control -> Storm Control Global Configuration.
Disable all Port Settings shown.
Click the Apply button in the upper right corner to commit the changes in the current session.
Click the Save button to save the changes to the startup configuration.