
Click Edit to select the Edit mode.
 icon on the main toolbar.
The **Builder pane** is used to create and edit trackable models, also called trackable assets:
* [**Rigid Body assets**](#rigid-body-create) are created for tracking rigid objects.
* [**Skeleton assets**](#skeleton-create) are created for tracking human motions.
* [**Trained Markerset assets**](https://docs.optitrack.com/motive/trained-markersets) are used to track objects that are neither rigid nor human skeleton templates.
When created, trackable models store the positions of markers on the target object and use the information to auto-label the markers in 3D space. During the auto-label process, a set of predefined labels are assigned to 3D points using the solver pipeline, and the labeled dataset is then used for calculating the position and orientation of the corresponding Rigid Bodies or Skeleton segments. Auto-labeling is not available for Trained Markersets.
The trackable models can be used to auto-label the 3D capture both in Live mode (real-time) and in the Edit mode (post-processing). Each created trackable model will have its own properties which can be viewed and changed under the [Properties pane](https://docs.optitrack.com/motive-ui-panes/properties-pane). If new Skeletons or Rigid Bodies are created during post-processing, the *Take* will need to be auto-labeled again in order to apply the changes to the 3D data.

### Interface Overview
On the Builder pane, you can either create a new trackable asset or modify an existing one. Select the *Type* of asset you wish to work on, and then select whether you wish to create or make modifications to existing assets. Create and Modify tools for different Asset types are explained in the sections below.

### Post-Processing
**Edit Mode** is used for playback of captured *Take* files. In this mode, you can playback and stream recorded data and complete post-processing tasks, such as creating and modifying assets. The Cameras View displays the recorded 2D data while the 3D Viewport represents either recorded or real-time processed data as described below.
There are two modes for editing:
* **Edit:** Playback in standard Edit mode displays and streams the processed 3D data saved in the recorded *Take*. Changes made to settings and assets are not reflected in the Viewport until the *Take* is [reprocessed](https://docs.optitrack.com/motive/reconstruction-and-2d-mode#applying-changes-to-3d-data).
* **Edit 2D:** Playback in Edit 2D mode performs a live reconstruction of the 3D data, immediately reflecting changes made to settings or assets. These changes are displayed in real-time but are not saved into the recording until the *Take* is [reprocessed](https://docs.optitrack.com/motive/reconstruction-and-2d-mode#applying-changes-to-3d-data) and saved. To playback in 2D mode, click the Edit button and select *Edit 2D*.
icon on the main toolbar.
The **Builder pane** is used to create and edit trackable models, also called trackable assets:
* [**Rigid Body assets**](#rigid-body-create) are created for tracking rigid objects.
* [**Skeleton assets**](#skeleton-create) are created for tracking human motions.
* [**Trained Markerset assets**](https://docs.optitrack.com/motive/trained-markersets) are used to track objects that are neither rigid nor human skeleton templates.
When created, trackable models store the positions of markers on the target object and use the information to auto-label the markers in 3D space. During the auto-label process, a set of predefined labels are assigned to 3D points using the solver pipeline, and the labeled dataset is then used for calculating the position and orientation of the corresponding Rigid Bodies or Skeleton segments. Auto-labeling is not available for Trained Markersets.
The trackable models can be used to auto-label the 3D capture both in Live mode (real-time) and in the Edit mode (post-processing). Each created trackable model will have its own properties which can be viewed and changed under the [Properties pane](https://docs.optitrack.com/motive-ui-panes/properties-pane). If new Skeletons or Rigid Bodies are created during post-processing, the *Take* will need to be auto-labeled again in order to apply the changes to the 3D data.

### Interface Overview
On the Builder pane, you can either create a new trackable asset or modify an existing one. Select the *Type* of asset you wish to work on, and then select whether you wish to create or make modifications to existing assets. Create and Modify tools for different Asset types are explained in the sections below.

### Post-Processing
**Edit Mode** is used for playback of captured *Take* files. In this mode, you can playback and stream recorded data and complete post-processing tasks, such as creating and modifying assets. The Cameras View displays the recorded 2D data while the 3D Viewport represents either recorded or real-time processed data as described below.
There are two modes for editing:
* **Edit:** Playback in standard Edit mode displays and streams the processed 3D data saved in the recorded *Take*. Changes made to settings and assets are not reflected in the Viewport until the *Take* is [reprocessed](https://docs.optitrack.com/motive/reconstruction-and-2d-mode#applying-changes-to-3d-data).
* **Edit 2D:** Playback in Edit 2D mode performs a live reconstruction of the 3D data, immediately reflecting changes made to settings or assets. These changes are displayed in real-time but are not saved into the recording until the *Take* is [reprocessed](https://docs.optitrack.com/motive/reconstruction-and-2d-mode#applying-changes-to-3d-data) and saved. To playback in 2D mode, click the Edit button and select *Edit 2D*.

Click Edit to select the Edit mode.
 button at the bottom of the [Assets pane](https://docs.optitrack.com/motive-ui-panes/assets-pane).
* **Hotkey:** While the markers are selected, use the *Create Rigid Body* hotkey (Default: Ctrl +T).
 
Once the Rigid Body asset is created, the markers will be colored, labeled, and interconnected to each other. The newly created Rigid Body will be listed under the [Assets pane](https://docs.optitrack.com/motive-ui-panes/assets-pane).
button at the bottom of the [Assets pane](https://docs.optitrack.com/motive-ui-panes/assets-pane).
* **Hotkey:** While the markers are selected, use the *Create Rigid Body* hotkey (Default: Ctrl +T).
 
Once the Rigid Body asset is created, the markers will be colored, labeled, and interconnected to each other. The newly created Rigid Body will be listed under the [Assets pane](https://docs.optitrack.com/motive-ui-panes/assets-pane).
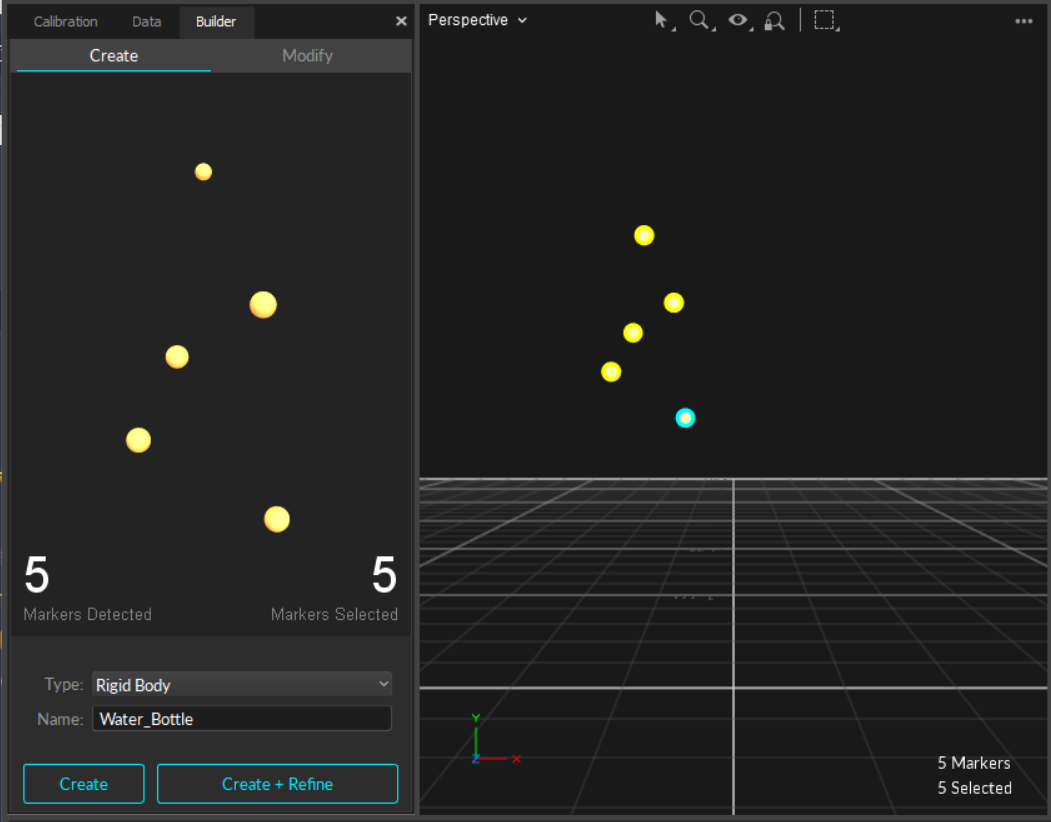
Create a Rigid Body.
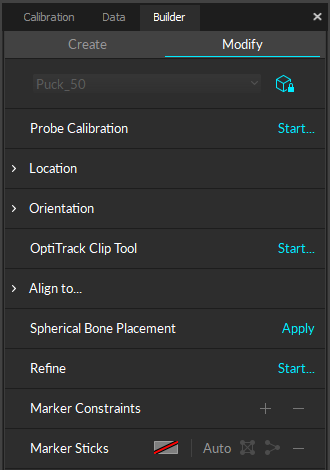
Builder Modify pane - with a Rigid Body selected.

Refine a Rigid Body from the Modify tab of the Builder pane.
 button on the toolbar.
2. Click on the Modify tab.
3. Select the Rigid Body to be refined in the Asset pane.
4. To refine the asset in [Live mode](https://docs.optitrack.com/control-deck#live-and-edit-mode), hold the physical selected Rigid Body at the center of the capture volume so that as many cameras as possible can clearly capture the markers on the Rigid Body.
1. In the **Refine** section of the Modify tab of the Builder pane, click *Start...*
2. Slowly rotate the Rigid Body to collect samples at different orientations until the progress bar is full.
5. You can also refine the asset in Edit mode. Motive will automatically replay the current take file to complete the refinement process.
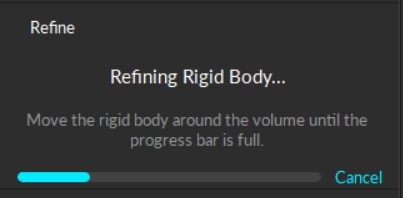
Rigid Body Refinement in Progress.
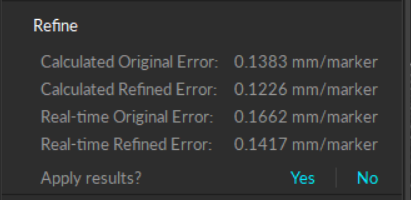
Rigid Body Refinement Results.
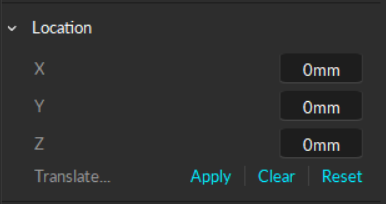
Modify Rigid Body Location settings on the Builder pane.
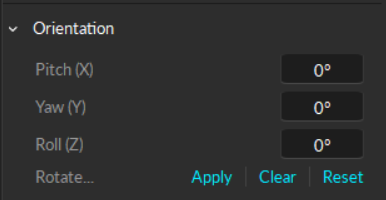
Modify Rigid Body Orientation settings on the Builder pane.

 button to see the options available:
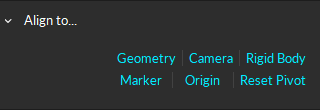
 button and select *Show Advanced* if it is not already selected.
Scroll to the *Visuals* section of the asset's properties. Under *Geometry*, select the object type from the list.
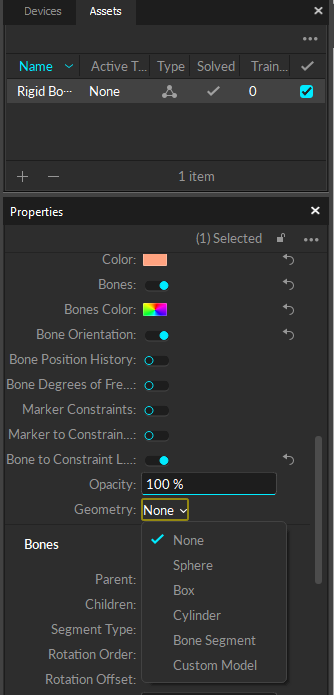
Geometry Options for Assets.

Select custom Model.
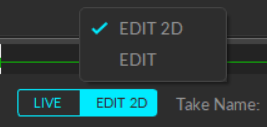
Switch from 3D to 2D edit mode.
 icon at the top of the Modify tab to unlock the drop-down list.

Asset Selection dropdown in Builder Pane Modify tab.

Asset Selection dropdown - unlocked.
Options to Create a Skeleton.
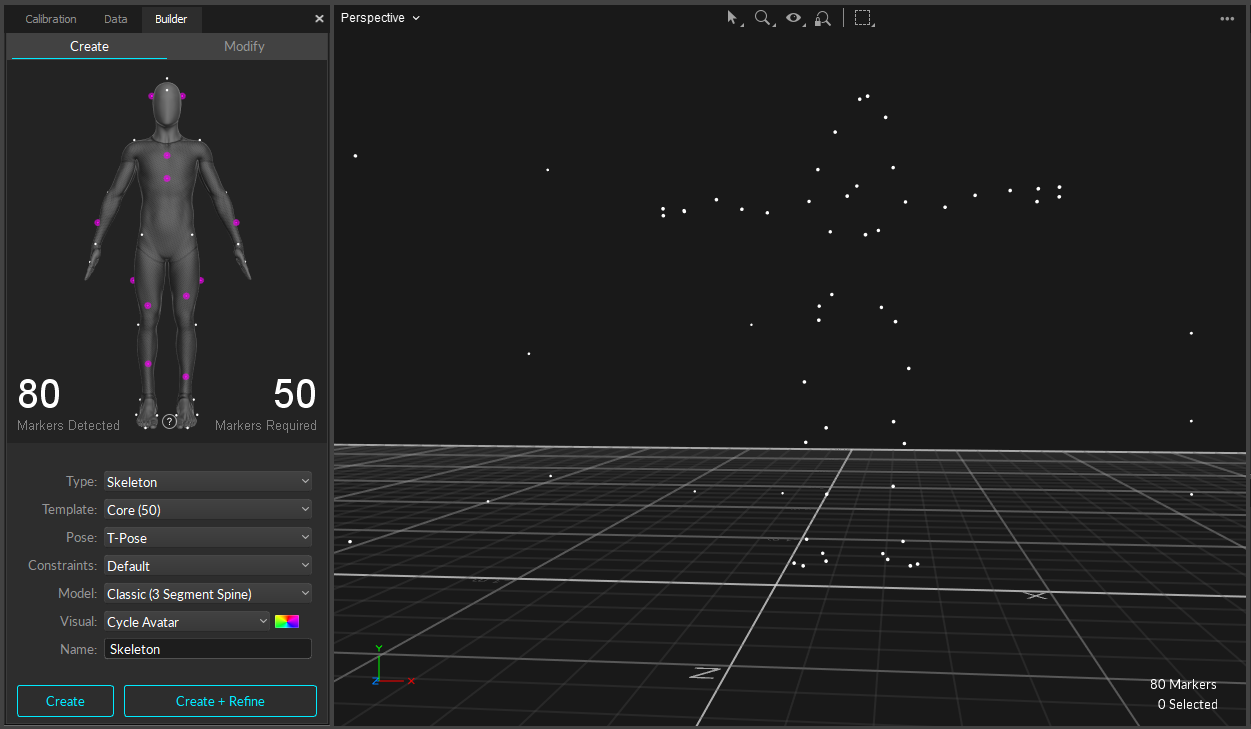
Defining Skeleton from a Skelton Marker Set.
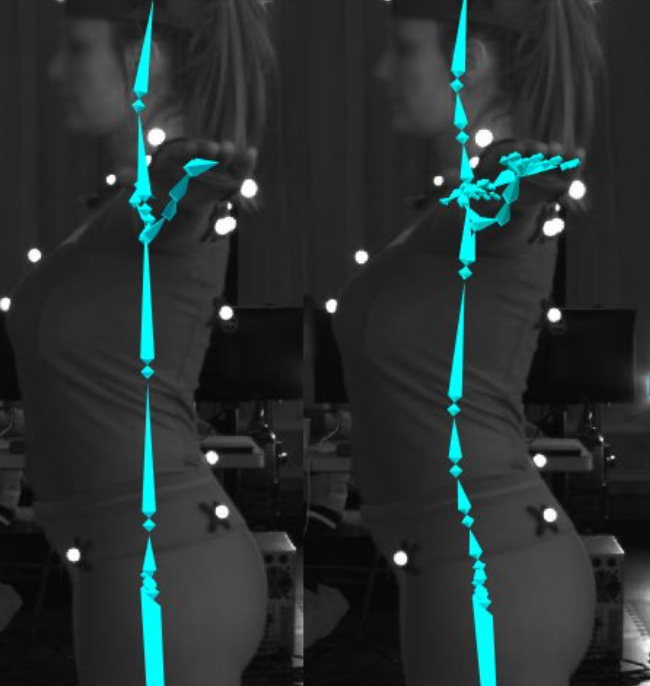
The Classic Spine model (left) compared to the 5 Spine Segment model (right)
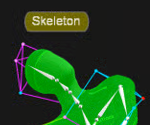
Height Marker
NOT Enabled
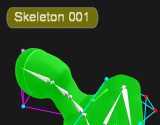
Height Marker
Enabled


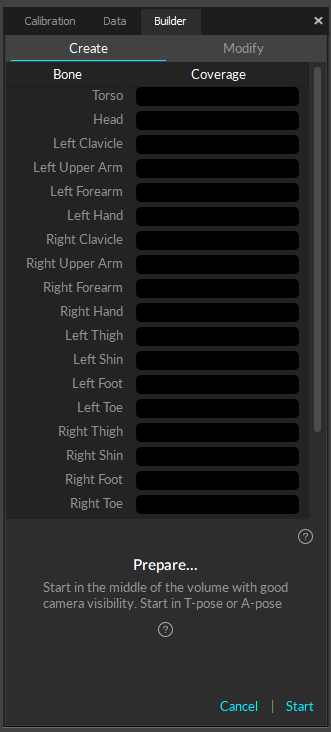
 help button:


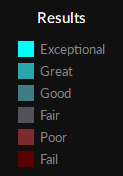


The Skeleton Refinement Properties,
prior to applying a Range of Motion calibration.

The Skeleton Refinement Properties,
After applying a Range of Motion calibration.

 button to see the available options.

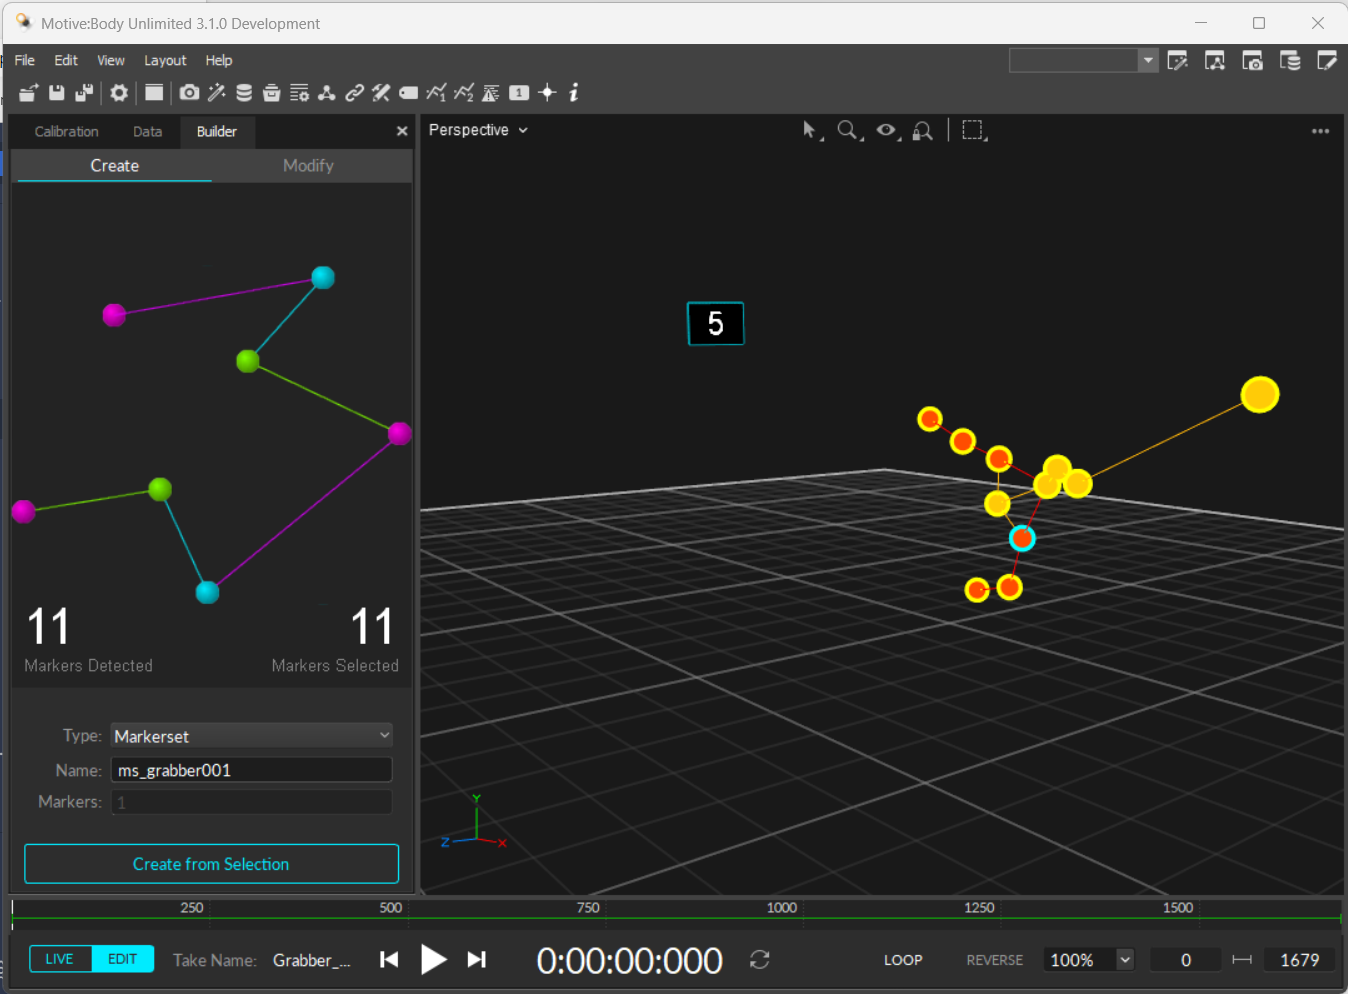
Create a Trained Markerset asset from the Build pane.
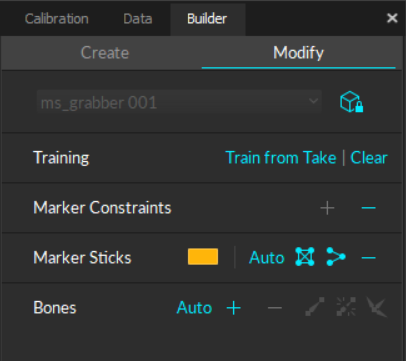
Builder Pane Modify Options for Trained Markersets.

| Button | Function |
|---|---|
 | Auto-generates bones at flex points for the selected asset. |
 | Adds (+) or Removes (-) the selected bone(s). |
 | Adds a bone chain between two selected bones. Whichever bone is selected first becomes the parent bone, the second becomes the child bone. |
 | Unparents the selected bone or bones. This removes the bone chain between the bones. |
 | Reroots the selected child bone and makes it the parent in the bone chain. |

 button to add the marker constraint to the asset definition. To remove it, click the
  button.
5. On the Marker Constraints section of the Builder pane, click + to add the marker to the definition or - to remove the marker.
6. Use the Constraints pane to modify marker label and/or colors.
### Marker Sticks

| Button | Function |
|---|---|
 | Changes the color of the selected Marker Stick(s). |
 | Autogenerates Marker Sticks for the selected Trained Markerset asset. |
 | Connects all of the selected Markers to each other. |
 | Creates Marker Sticks based on the order in which the markers were selected. |
 | Removes the selected Marker Stick(s). |