Camera Video Types
An overview of the different video modes available on the OptiTrack cameras.
Captured frames are processed differently based on the video mode the camera is set to during recording. Only the configured video mode is recorded and saved in Take files.
Video Types
Video types, or image-processing modes, available in OptiTrack Cameras:
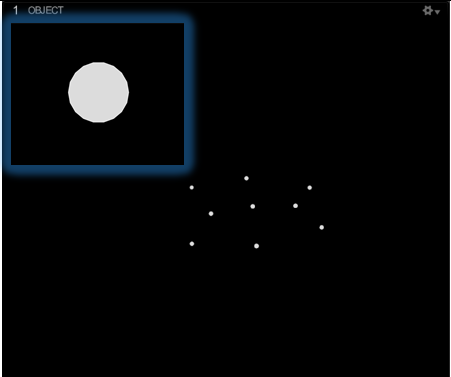
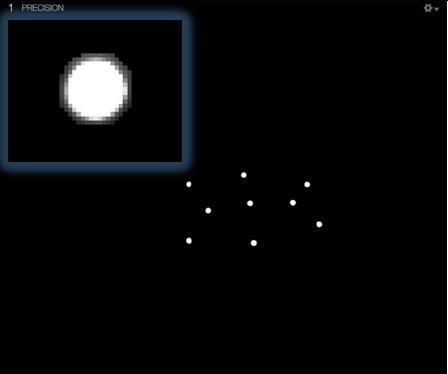
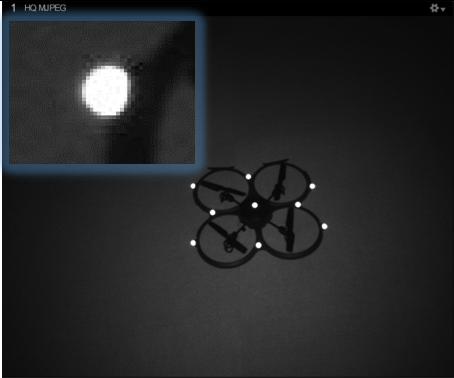
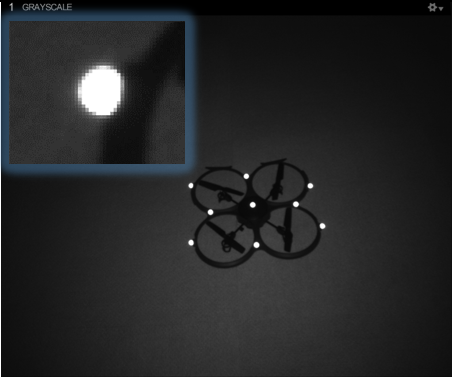
OptiTrack cameras have different image-processing modes, referred to as video types in Motive. Each mode processes captured frames differently at both the camera hardware and software levels.
The precision of the capture and the required amount of CPU resources will vary depending on the configured video type.
The available modes vary some by camera model.
Duplex mode records both MJPEG and Object mode and is available in the following cameras:
PrimeX 13, 22, 41, and 120
SlimX 22, 41, and 120
VersaX 22, 41, and 120
The video types are categorized as either tracking modes (object mode and precision mode) or reference modes (MJPEG and raw grayscale). Only cameras in tracking modes will contribute to the reconstruction of 3D data.
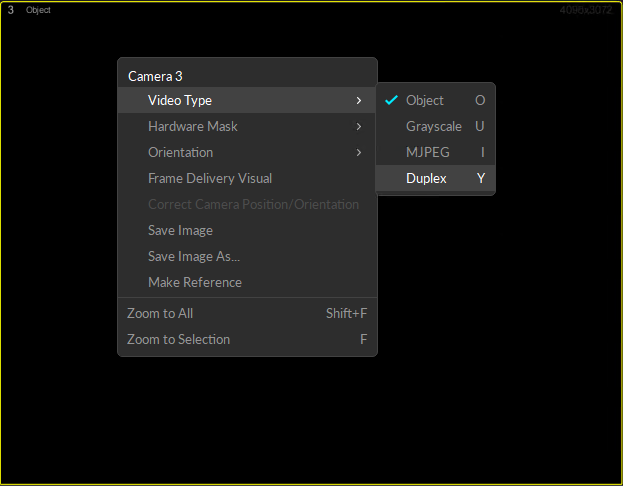
To switch between image processing modes, simply right-click on the camera from the 2D camera preview pane and select the desired video type.
Motive records frames of only the configured video types. Video types of the cameras cannot be switched for recorded Takes in post-processing of captured data.
Object Mode
(Tracking Mode) Object mode performs on-camera detection of centroid location, size, and roundness of the markers, sending respective 2D object metrics to the host PC. This mode is best for obtaining the 3D data. Compared to other processing modes, Object mode provides the smallest CPU footprint, resulting in the lowest processing latency while maintaining the high accuracy.
Supported Camera Models: Prime/PrimeX series, Slim/SlimX series, VersaX Series, Flex 13, and S250e camera models.
Precision Mode
(Tracking Mode) Precision Mode performs on-camera calculations to determine which pixels are over the threshold value, including a two pixel halo around the above-threshold pixels. These pixels are sent to the PC for additional processing and determination of the precise centroid location.
Precision mode provides quality centroid locations but is computationally expensive and network bandwidth intensive. We recommend this mode for low to moderate camera count systems for 3D tracking when Object Mode is unavailable or when using the 0.3 MegaPixel USB cameras.
Supported Camera Models: Flex series, Tracking Bars, S250e, Slim13e, and Prime 13 series camera models.
Precision mode is not more accurate than object mode. Object mode is the preferred mode for tracking and should be used when available.
MJPEG grayscale Mode
(Reference Mode) The MJPEG-compressed grayscale mode captures grayscale frames, compressed on-camera for scalable reference video capabilities. Grayscale images are used only for reference purpose, and processed frames will not contribute to the reconstruction of 3D data. The MJPEG mode can run at full frame rate and be synchronized with tracking cameras and can be exported.
Supported Camera Models: All camera models.
Raw grayscale
(Reference Mode) This mode processes full resolution, uncompressed, grayscale images. The grayscale mode is designed to be used only for reference purposes, and processed frames will not contribute to the reconstruction of 3D data. Because of the high bandwidth associated with sending raw grayscale frames, this mode is not fully synchronized with other tracking cameras and will run at lower frame rate. Raw grayscale videos cannot be exported from a recording.
This video mode is recommended only for aiming and monitoring the camera views for diagnosing tracking problems.
Supported Camera Models: All camera models.
Duplex Mode
(Tracking and Reference Mode) Duplex mode captures in both Object and MJPEG mode, providing reference video and tracking data from the same camera. Duplex mode unlocks more reference viewpoints when needed and supports post production markerless workflows.
Supported Camera Models: PrimeX 13, 22, 41, and 120, SlimX 22, 41, and 120, and VersaX 22, 41, and 120.
Duplex mode is available with the Motive:Body and Motive:Body-Unlimited licenses only.
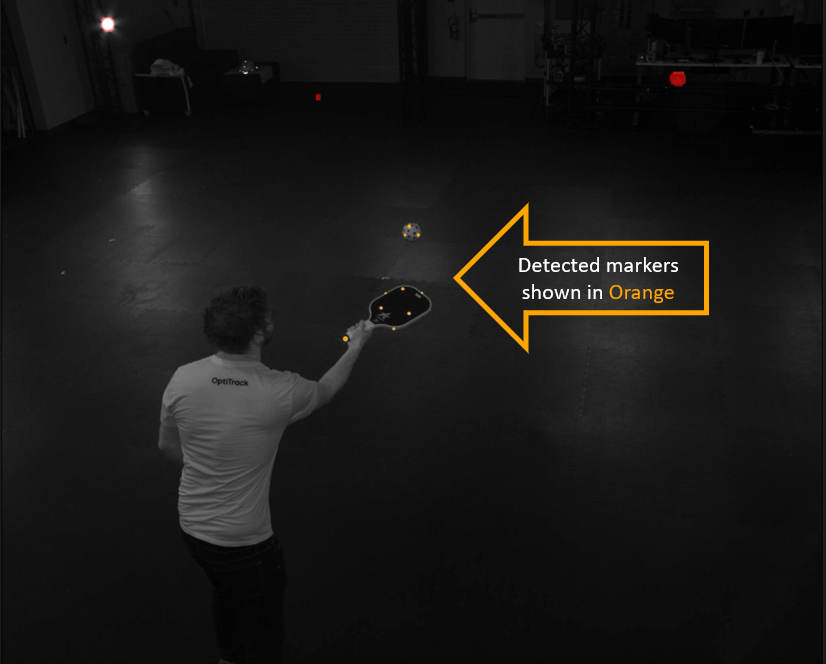
Marker Color
Change the display color for the markers in the Properties pane for the selected camera under the 2D Display Options.

Camera Masks
Masked cameras that appear in the duplex capture will display a red halo around the camera light. If the ring light is disabled, the camera will appear like any other masked object in the volume.

Threshold Values
Threshold is an important setting while using Duplex mode, because MJPEG usually works best with brighter images while object mode does best using dark images with hotspots.
Adjust the Threshold values in the Properties pane. We recommend setting the value around 220 – 255.
Switching Video Types
You can check and/or change the video type of the selected camera from either the Devices pane, the camera properties, or the Cameras view in the Viewport. Hotkeys can also be used to change the video type.
Video Mode Hotkeys
You can select a camera or cameras and use the associated hotkey to change the video mode.
Object: O
Grayscale: U
MJPEG: I
Duplex: Y
From the Devices Pane
From the Device pane, click the Mode icon for the selected camera to toggle between frequently used modes for each camera.
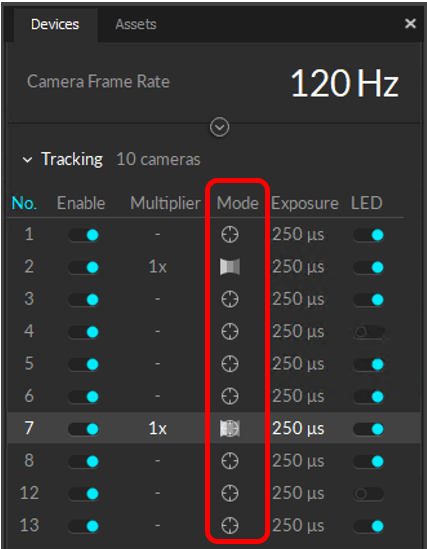
Available video modes may vary for different camera types, and not all modes may be available by clicking the Mode icon in the Devices pane.
![]()
Object mode
![]()
Precision mode
![]()
Grayscale
![]()
MJPEG
![]()
Duplex
From Camera Properties
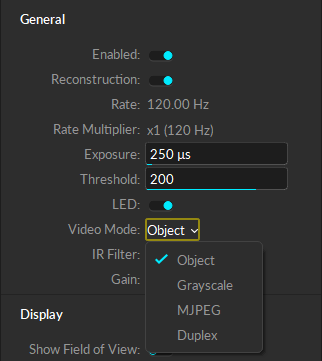
Select one or more cameras in either the Viewport or the Devices pane to view and change settings in the Properties pane, including the video type in the Video Mode section. Use the dropdown list to update the mode on all the selected cameras.
If the selected cameras are not all in the same mode, the Video Mode field will display mixed.
The drop-down menu will only display modes common to all of the selected cameras. Some video types, such as Precision or Duplex mode, are not available on all models.
From Viewports
From Perspective View
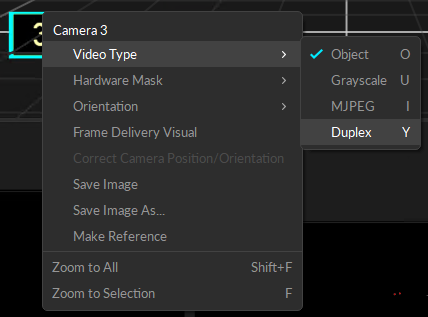
In the Viewport's Perspective view, right-click on the selected camera to open the Viewport's context menu. Click Video Type to choose from the available modes.
From Cameras View
In the Viewport's Cameras view, right-click on the camera you wish to change, then click Video Type to select the new mode.

Reference Videos
Cameras can be set to record reference videos during capture, which is used to observe what goes on during recording. Reference video is recorded in either MJPEG or Duplex mode, and is synchronized with other captured frames.
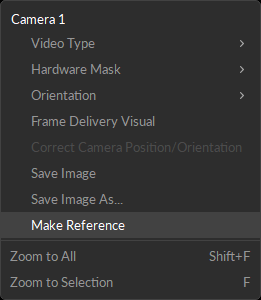
Compared to object images that are taken by non-reference cameras in the system, MJPEG videos produce more data and consume more network bandwidth. A high volume of data traffic can increase the system latency. For this reason, we recommend setting no more than one or two cameras to full MJPEG mode.
The Video option on the Viewport pane menu allows you to quickly switch that pane to the desired reference camera. Only cameras in MJPEG or Duplex mode will appear in the list.
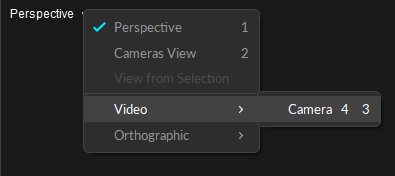
If Grayscale mode is selected during a recording instead of MJPEG, no reference video will be recorded and the data from that camera will display a black screen. Full grayscale is strictly used for aiming and focusing cameras.
Note:
Processing latency can be monitored from the status bar located at the bottom.
MJPEG video are used only for reference purposes, and processed frames will not contribute to reconstruction of 3D data.
Select Duplex mode to collect both reference video and tracking data from the same camera. Duplex mode is only available on select PrimeX, SlimX, and VersaX cameras.
The Data Transmission rate in the bottom right corner of Motive helps evaluate process latency.

View From Selection
When a reference camera is selected in the Cameras view, the View from Selection menu option changes to the selected camera.
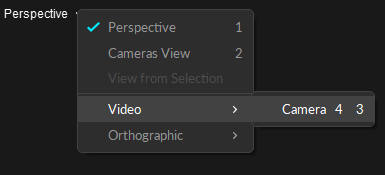
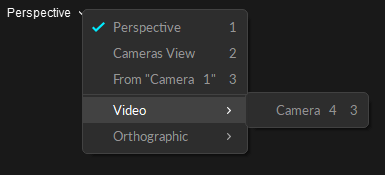
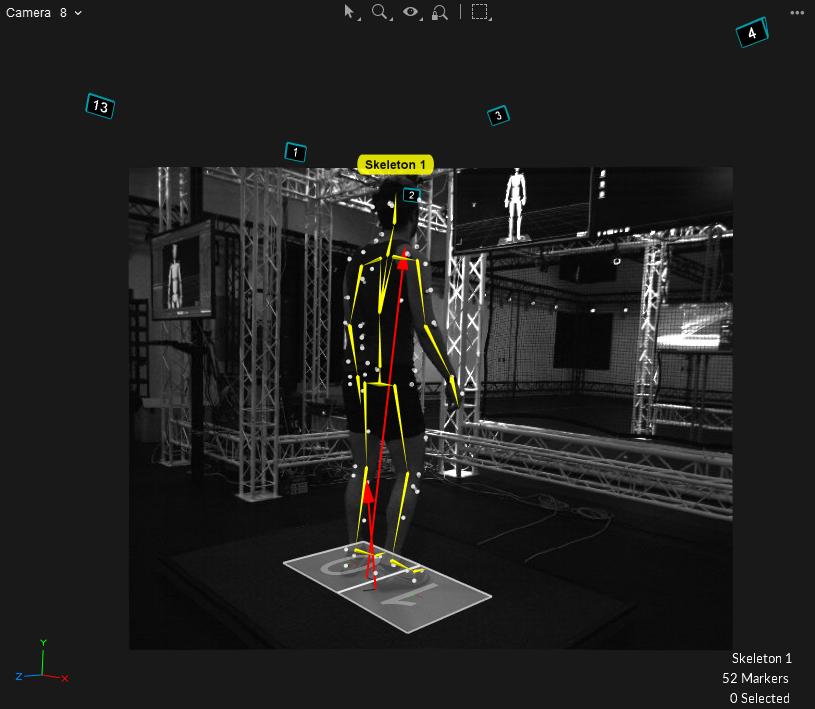
Use the hotkey 3 in the Perspectives pane to switch to the selected camera's video in the main viewport. If the camera was calibrated and capturing reference videos, 3D assets will be overlaid on top of the reference image.
Last updated
Was this helpful?

