Camera Placement
In optical motion capture systems, proper camera placement is very important in order to efficiently utilize the captured images from each camera. Before setting up the cameras, it is good idea to plan ahead and create a blueprint of the camera placement layout. This page highlights the key aspects and tips for efficient camera placements.
A well-arranged camera placement can significantly improve the tracking quality. When tracking markers, 3D coordinates are reconstructed from the 2D views seen by each camera in the system. More specifically, correlated 2D marker positions are triangulated to compute the 3D position of each marker. Thus, having multiple distinct vantages on the target volume is beneficial because it allows wider angles for the triangulation algorithm, which in turn improves the tracking quality. Accordingly, an efficient camera arrangement should have cameras distributed appropriately around the capture volume. By doing so, not only the tracking accuracy will be improved, but uncorrelated rays and marker occlusions will also be prevented. Depending on the type of tracking application, capture volume environment, and the size of a mocap system, proper camera placement layouts may vary.
Planning Camera Placement
An ideal camera placement varies depending on the capture application. In order to figure out the best placements for a specific application, a clear understanding of the fundamentals of optical motion capture is necessary.
To calculate 3D marker locations, tracked markers must be simultaneously captured by at least two synchronized cameras in the system. When not enough cameras are capturing the 2D positions, the 3D marker will not be present in the captured data. As a result, the collected marker trajectory will have gaps, and the accuracy of the capture will be reduced. Furthermore, extra effort and time will be required for post-processing the data. Thus, marker visibility throughout the capture is very important for tracking quality, and cameras need to be capturing at diverse vantages so that marker occlusions are minimized.
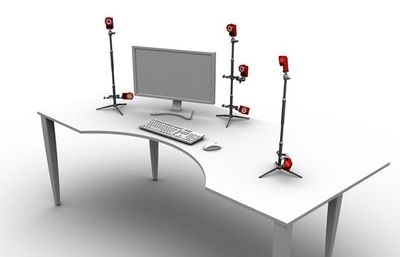
Depending on captured motion types and volume settings, the instructions for ideal camera arrangement vary. For applications that require tracking markers at low heights, it would be beneficial to have some cameras placed and aimed at low elevations. For applications tracking markers placed strictly on the front of the subject, cameras on the rear won't see those and as a result, become unnecessary. For large volume setups, installing cameras circumnavigating the volume at the highest elevation will maximize camera coverage and the capture volume size. For captures valuing extreme accuracy, it is better to place cameras close to the object so that cameras capture more pixels per marker and more accurately track small changes in their position.
Again, the optimal camera arrangement depends on the purpose and features of the capture application. Plan the camera placement specific to the capture application so that the capability of the provided system is fully utilized. Please contact us if you need consulting with figuring out the optimal camera arrangement.
General Guide
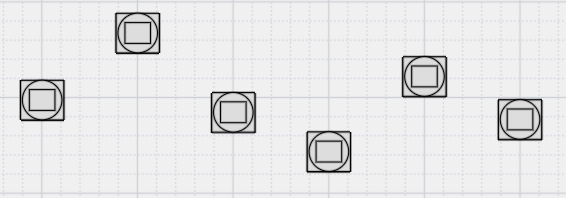
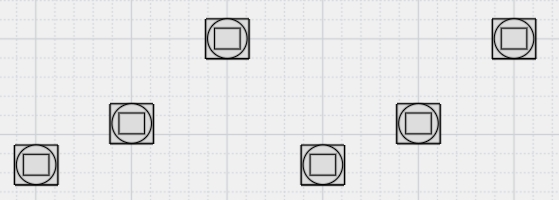
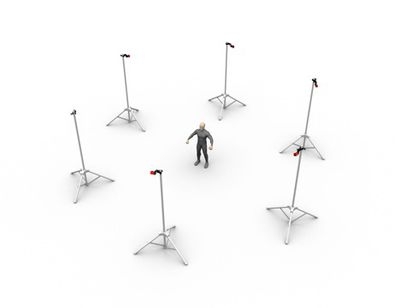
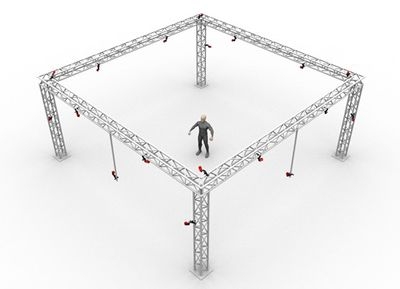
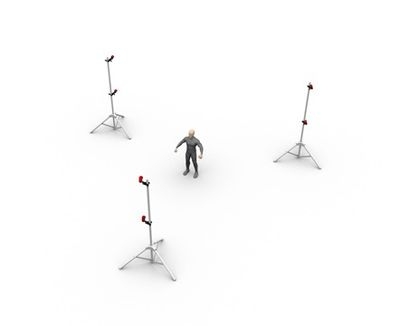
For common applications of tracking 3D position and orientation of Skeletons and Rigid Bodies, place the cameras on the periphery of the capture volume. This setup typically maximizes the camera overlap and minimizes wasted camera coverage. General tips include the following:
Mount cameras at the desired maximum height of the capture volume.
Distribute the cameras equidistantly around the setup area.
Adjust angles of cameras and aim them towards the target volume.
For cameras with rectangular FOVs, mount the cameras in landscape orientation. In very small setup areas, cameras can be aimed in portrait orientation to increase vertical coverage, but this typically reduces camera overlap, which can reduce marker continuity and data quality.
TIP: For capture setups involving large camera counts, it is useful to separate the capture volume into two or more sections. This reduces amount of computation load for the software.
Camera Placement Checkpoints
Around the volume
For common applications tracking a Skeleton or a Rigid Body to obtain the 6 Degrees of Freedom (x,y,z-position and orientation) data, it is beneficial to arrange the cameras around the periphery of the capture volume for tracking markers both in front and back of the subject.
Camera Elevations
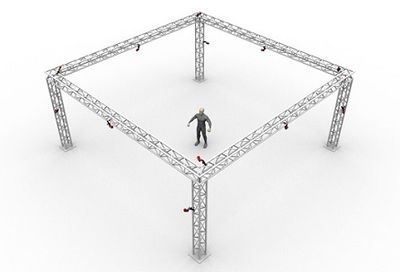
For typical motion capture setup, placing cameras at high elevations is recommended. Doing so maximizes the capture coverage in the volume, and also minimizes the chance of subjects bumping into the truss structure which can degrade calibration. Furthermore, when cameras are placed at low elevations and aimed across from one another, the synchronized IR illuminations from each camera will be detected, and will need to be masked from the 2D view.
However, it can be beneficial to place cameras at varying elevations. Doing so will provide more diverse viewing angles from both high and low elevations and can significantly increase the coverage of the volume. The frequency of marker occlusions will be reduced, and the accuracy of detecting the marker elevations will be improved.
Camera to Camera Distance
Separating every camera by a consistent distance is recommended. When cameras are placed in close vicinity, they capture similar images on the tracked subject, and the extra image will not contribute to preventing occlusions or the reconstruction calculations. This overlap detracts from the benefit of a higher camera count and also doubles the computational load for the calibration process. Moreover, this also increases the chance of marker occlusions because markers will be blocked from multiple views simultaneously whenever obstacles are introduced.
Camera to Object Distance
An ideal distance between a camera and the captured subject also depends on the purpose of the capture. A long distance between the camera and the object gives more camera coverage for larger volume setups. On the other hand, capturing at a short distance will have less camera coverage but the tracking measurements will be more accurate. The cameras lens focus ring may need to be adjusted for close-up tracking applications.
Placement Examples
Last updated
Was this helpful?


